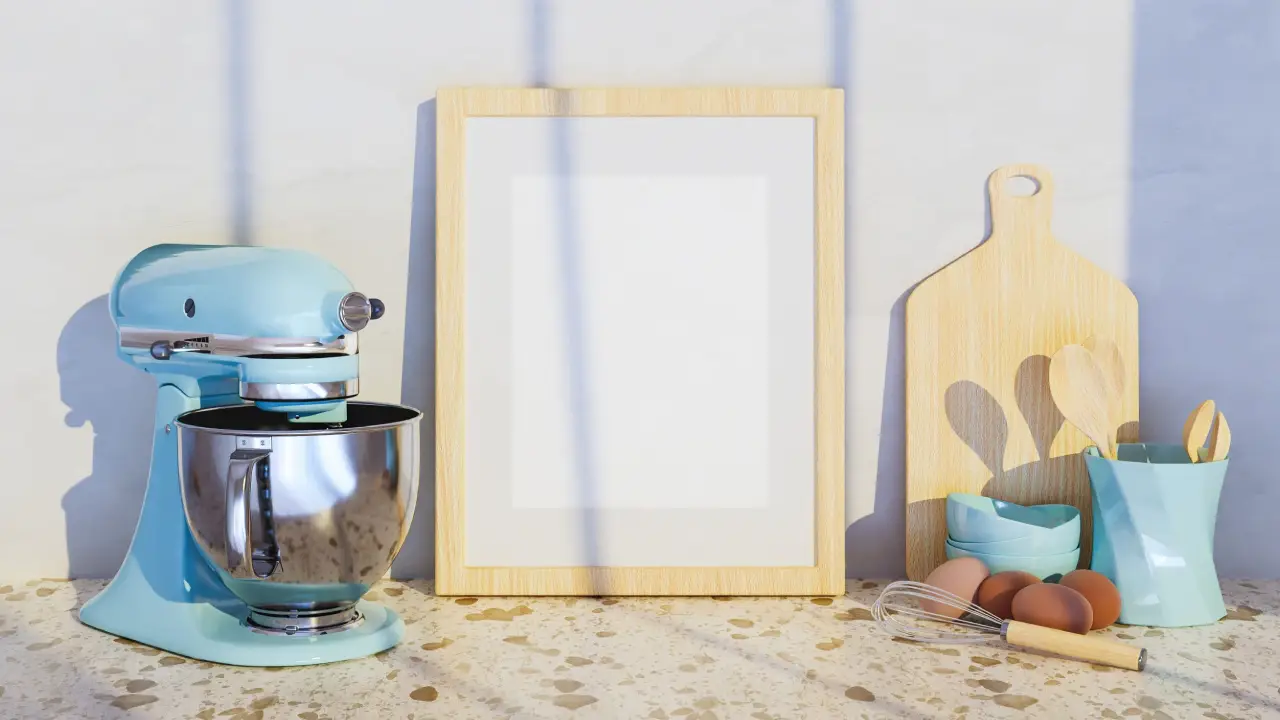
Oil leakage from a Stand mixer is a common concern, but it can be quickly solved by taking the steps to replace the mixer’s gearbox grease. When the grease in a stand mixer’s gearbox splits, the liquid portion of the grease will spill out like oil. The grease inside the mixer’s gearbox will split for a variety of purposes, the most important of which are heat from overloading the mixer, not running the mixer often enough, and time.
Is there oil leaking from my Stand mixer?
It might be, but don’t get too worked up just yet. It’s still safe to use if just a tiny amount has leaked and the unit sounds natural (no grinding!). To do all the convenient mixing and whipping, the Kitchen Aid needs lubrication, because there’s a lifetime’s worth of strong grease inside the unit. The grease distributes around the gears as you turn on the mixer, ensuring smooth running.
The old grease in the mixer’s gearbox must be replaced with fresh grease to remedy the problem of oil pouring out of a stand mixer. To repair a leaking Kitchen Aid stand mixer, follow the steps below. With this expert repair advice, replacing the gearbox grease will take as little as ten to fifteen minutes. The Mixer’s Gearbox can be accessed.
Accessing the gearbox, scraping the old grease, applying fresh grease, and reassembling the unit are the four steps to fixing a leaking stand mixer. The first step of the fix, gaining access to the mixer’s gears, necessitates any computer disassembly. When reading this content you may think whether this method of cleaning the stand mixer is right or not? You can rest assured because we came up with this content after consulting with a well recognized commercial kitchen cleaning company among restaurants in sunshine coast.
1. Remove the power cord tension support and the rear housing cover.
The strain relief on the power cord must be removed to free it from the motor. The strain relief is found under the rear housing cover of the mixer. Unscrew the one head screw that holds the rear housing cover in place. The strain relief for the power cord would then pull out of the back of the mixer stand.
2. The planetary drip ring must be removed.
The planetary drip ring adds aesthetic appeal to the mixer while also aiding in gearbox sealing and catching grease leaks. With just a little surface friction, it is kept to the planetary mixer. Tap the drip ring off the planetary softly with a flat head screwdriver.
3. Remove the planetary pin from its pinhole by tapping it.
The planetary shaft pin is the last piece of hardware that connects the planetary to the gearbox. Tap the planetary pinout of its spot with a pin punch and a hammer.
4. Remove the planetary from the mixer with a pry bar.
The mixer's planetary can now be disabled. With a pair of flathead screwdrivers, pry the planetary off a bit. And, by hand, take it off the rest of the way.
5. Remove the five screws from the gearbox.
The five screws that connect the mixer’s motor housing to the stand are exposed when the planetary is removed. Using a flat head screwdriver, remove these five screws.
6. Remove four screws from the rear housing.
The mixer stand and the motor housing are both connected by four rear housing screws, which must be separated with a flat head screwdriver. A retention washer would be on one of the two rear housing screws in one of the two rear-most positions. Take notice of which screw has this washer, since it must be restored to the motor housing’s rear fastener spot.
7. Remove the stand mixer’s motor housing.
The motor is now out of the lower half of the mixer after removing the housing pins, removing the back cover, and disengaging the pressure relief. Since the front end of the motor’s housing is attached to a gear shaft in the mixer’s gearbox, it would only be partly secured to the mixer. To remove the motor housing from the gear shaft and away from the mixer, lift it straight up. Dispose of the Old Grease in the Mixer There will be a big pile of grease in the mixer gearbox. As long as the grease hasn’t split, it’s natural for it to be a dark colour. Allow sure the grease is the source of the leak by checking it for signs of divergence before cleaning it.
8. Clean the gearbox and motor housing.
Remove all old grease from around the gears with a putty knife, and dispose of it in a container. It’s possible that turning the gears would be sufficient to clear all of the old greases. To clean the gears, insert a pin punch into the pinhole on the bottom of the gear shaft. Be sure to remove all of the old creases out of the motor housing’s gearbox portion. It can take several minutes to remove all of the old greases from the mixer.
9. Apply the fresh mixer grease to the gears in a thick layer.
Apply fresh grease to the mixer gears a little at a time with a clean putty knife. Try to re-apply the same amount of grease that was taken out of the gearbox. Often, make sure the fresh grease has at least a little coating on each of the gears in the gear assembly. To adequately cover each of them, it might be appropriate to switch the gears again.
10. Return the mixer stand to the motor housing.
A bearing in the gearbox part of the housing must be aligned up with the gear spindle that protrudes from the gears before reinstalling the engine housing.
11. Turn the gearbox gears to seat the motor housing into place.
For the motor housing to fully seat into place, the gears in the gearbox must be lined up. To align the gearbox gears, switch the motor shaft with a pin punch while softly pressing on the motor housing top. The motor housing will descend and close the distance between the mixer sections until the gears are properly spaced.
12. All of the mixer housing fasteners must be returned.
Return the five screws beneath the planetary and the four screws in the back of the mixer housing to complete the assembly of the two halves of the mixer. Remember that the retention screw (the rear housing screw with the lock washer) must be returned to one of the two rearmost locations.
13. The planetary should be replaced.
Before reinstalling the planetary gear on the mixer, it’s a smart idea to give it a fresh coat of grease. Don’t smear oil all over the gears as you can inside a gearbox. A thin coat around the equipment would suffice. The planetary gear can be pressed back into place by hand after it has been greased. When you press the planetary back into position, make sure the planetary gears are aligned. Switch the motor shaft when pushing the motor housing to balance the gears.
14. The planetary pin should be reinstalled.
Before putting the planetary pin back into place, the planetary and motor shaft holes must be spaced. To line up the holes, insert a tiny screwdriver into them first. The planetary pin can be tapped back into position with a hammer until the holes are aligned.
15. Replace the planetary drip ring on the mixer.
Since the planetary drip ring is kept in place by tension, the area surrounding the planetary must be grease-free to keep the drip ring in place. Until attempting to replace the ring, thoroughly clean the planetary field. The beauty ring can quickly push back into place by hand until the planetary field is cleared of grease and other dirt.
16. Remove the rear housing cover and replace it.
Until restoring the rear housing and its one Phillips screw to their original locations, re-engage the power cord tension relief. This fix is now complete with the mixer reassembled.
How Will I Save My Stand Mixer From Leaking Oil?
If you see a small amount of oil in the bottom of the mixing bowl or leaking from the beater, consider using the computer to redistribute it. Set the unit to speed 10 and let it run for two minutes without any ingredients. Then, using a clean cloth, brush away any residual grease. Trying to let the mixer cool fully between uses of an overheated system will cause oil leaks as well.
Do this on a regular basis to avoid oil leaks, particularly if your Stand Mixer hasn’t been used in a while. Take advantage of our easy-to-use parts buying system and expert repair advice to save money on those household repairs that have been piling up on your workbench.

Professional Cleaning Services
Get A Free QuoteRecent Posts
-

Why Professional Cleaning Services Are Required for Every Season
September 15, 2023
Admin
-

5 Quick Steps To Achieve A Sparkling Kitchen
November 23, 2022
Admin
-

What Are Bed Bugs And How to Get Rid of Them
September 08, 2021
Admin
-

Simple Habits That Will Help You Stay Organized
August 31, 2021
Admin
-

7 Simple Tips to Declutter Your Home
August 27, 2021
Admin


